Ahri tail tutorial
For my 9 tail cosplays I wanted a tail which is very easy and light to wear. I tried other tutorials before but the tails were heavy or flipping around, or you needed so much stuff to build them. That doesnt make fun or sence so it was not an option.The good thing at my Ahri tail tutorial: Its easy and very cheap to build too! Even for beginners its no problem:
No sawing, no sanding, no drilling, no screw in, no tail rotation! and if you want: no sewing.
And this all for just 35€.
How long does it take? 3-5 hours.
Whaaaat?! Yes.
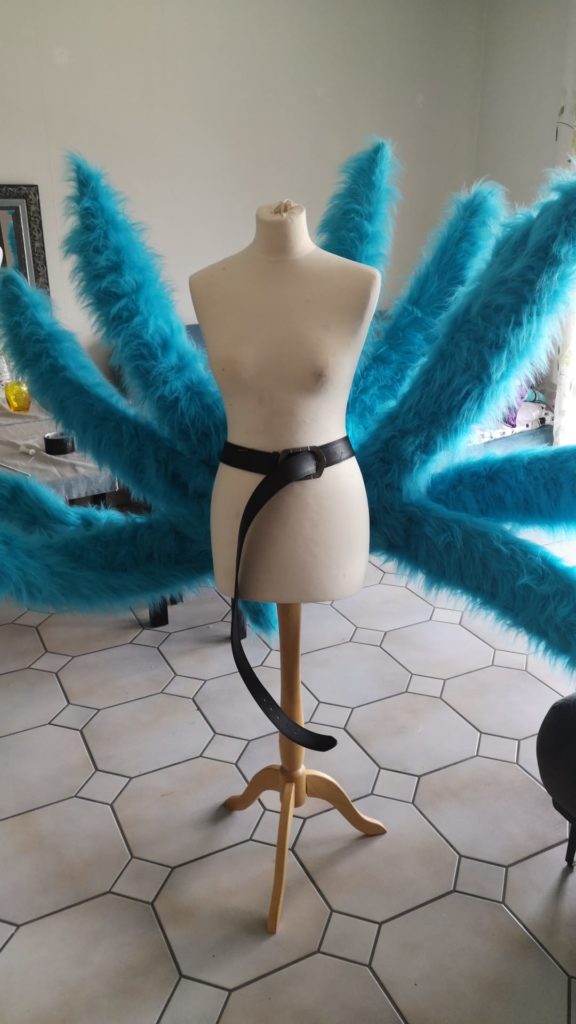
Things you need
Material for the base:
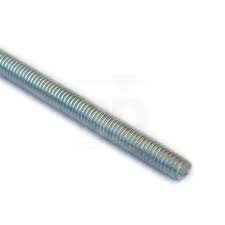
- 11 x threaded rods 3mm M3 or thicker
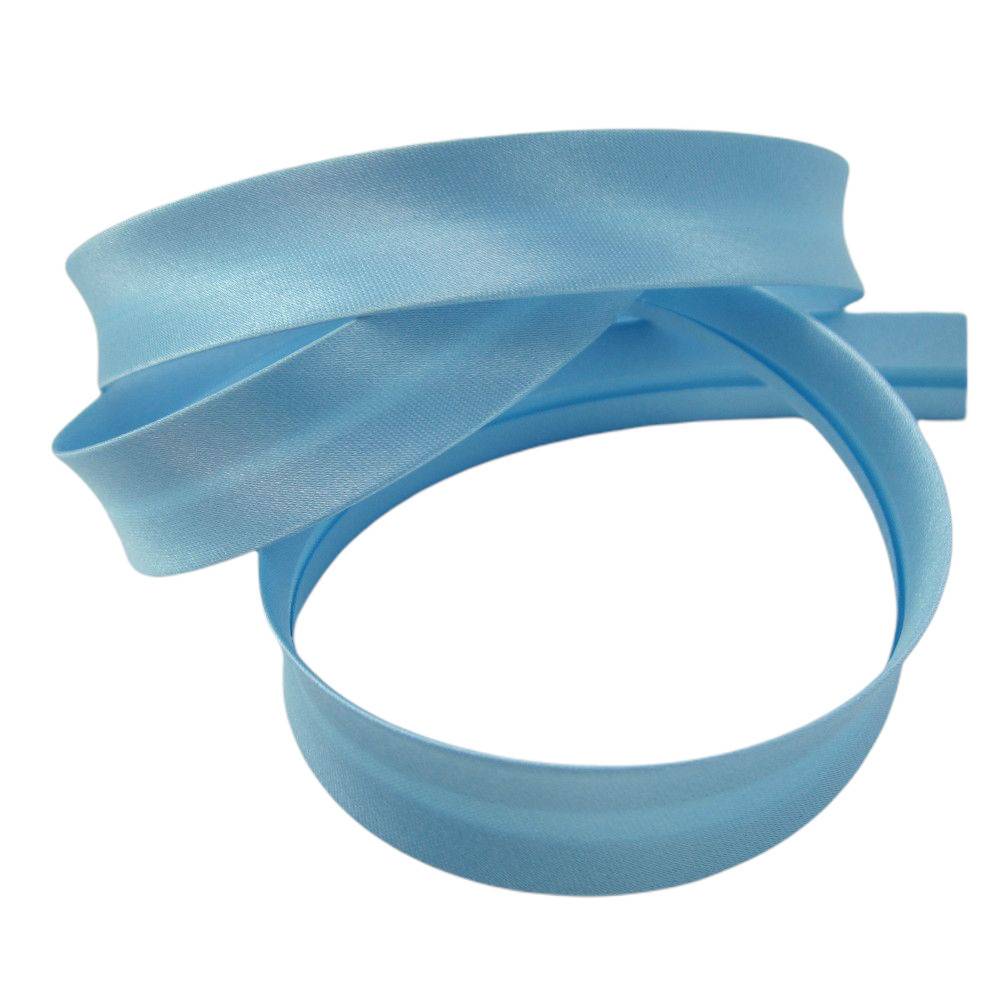
- 3 meter satin ribbon or another ribbon you like
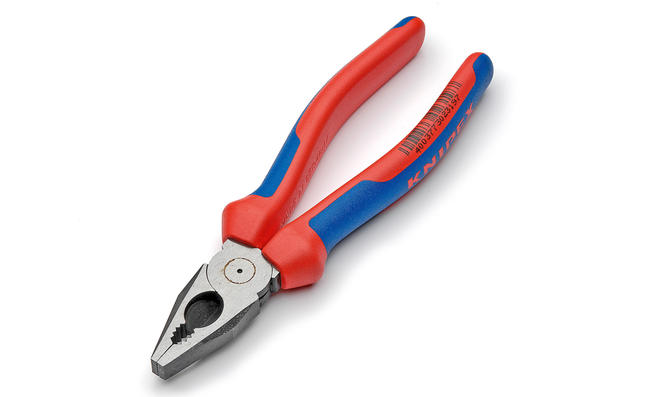
- pliers for shortening the rods
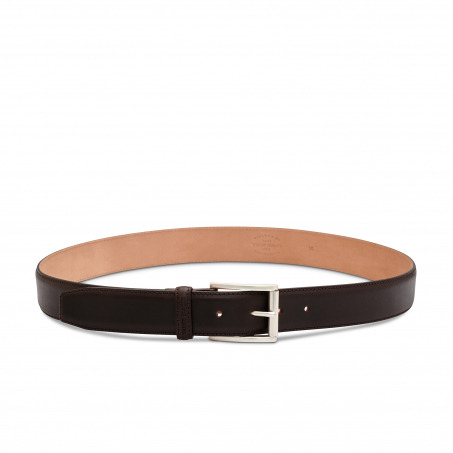
- belt
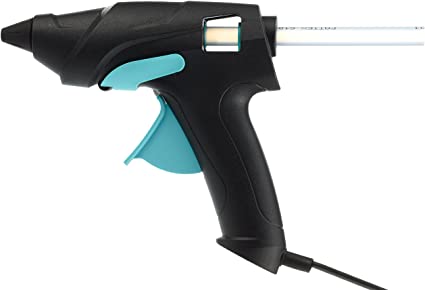
- hot glue pistole
- Duct tape as helping hand.
Thats it. Costs: 7€-12€ its up to how thick you take the rods.
Material for the Tails:
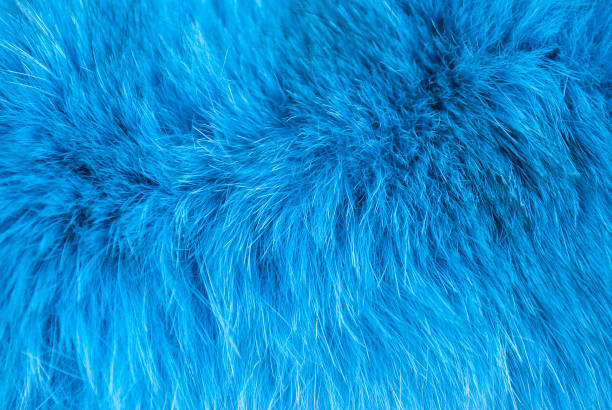
- 2 meters of your favorit fur.
- Sewing maschine or hot glue gun
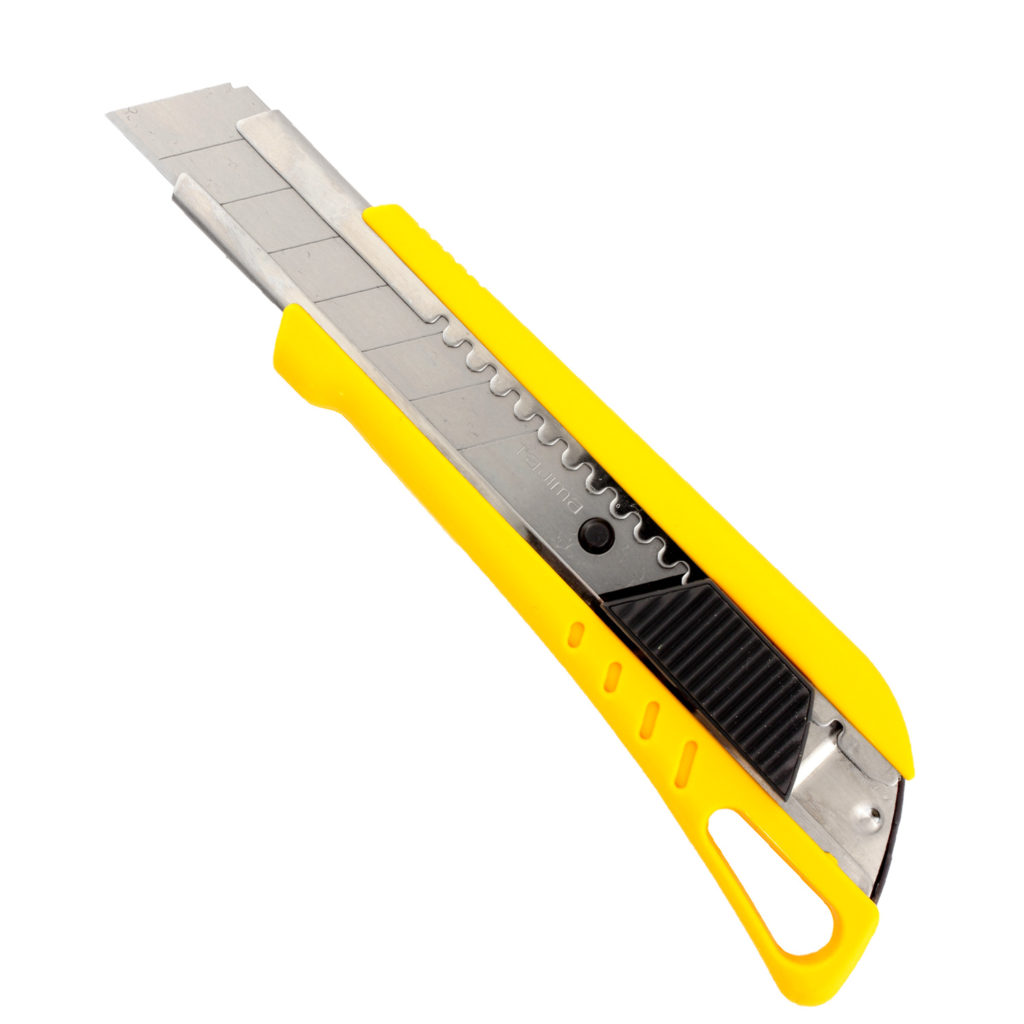
- cutting knife (no scissors)
costs: I payed 23€ for the fur.
If you want more volume in you tails you can make them bigger. You need 3 meters of fur. And to not make them heavy: 18 plastik bottles.
It's all about da base, no trouble.
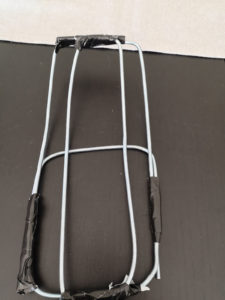
Now you need 3 rods to make this shape. Long rods left overs can be shorten with the pliers.
You can fix the position with the duct tape.
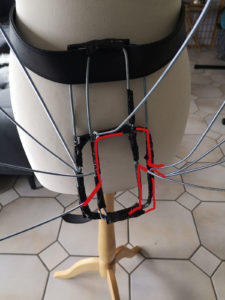
Now take the 9 other rods and bend them two times! ( the red "Z") Thats the important thing in this tutorial. If you dont bend it two times, the rod can flip away. You dont want that, trust me! Because of the bending you doesnt need to work with wood and screws, what would make it very heavy.
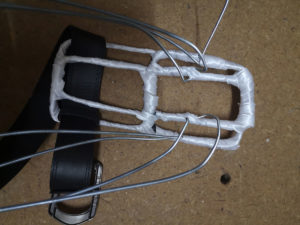
After bending, secure it with duct tape and then glue the ribbon around.
Thats all. Now you have your wonderfull, bend- and shapeable Kitzune Ahri 9 tail base.
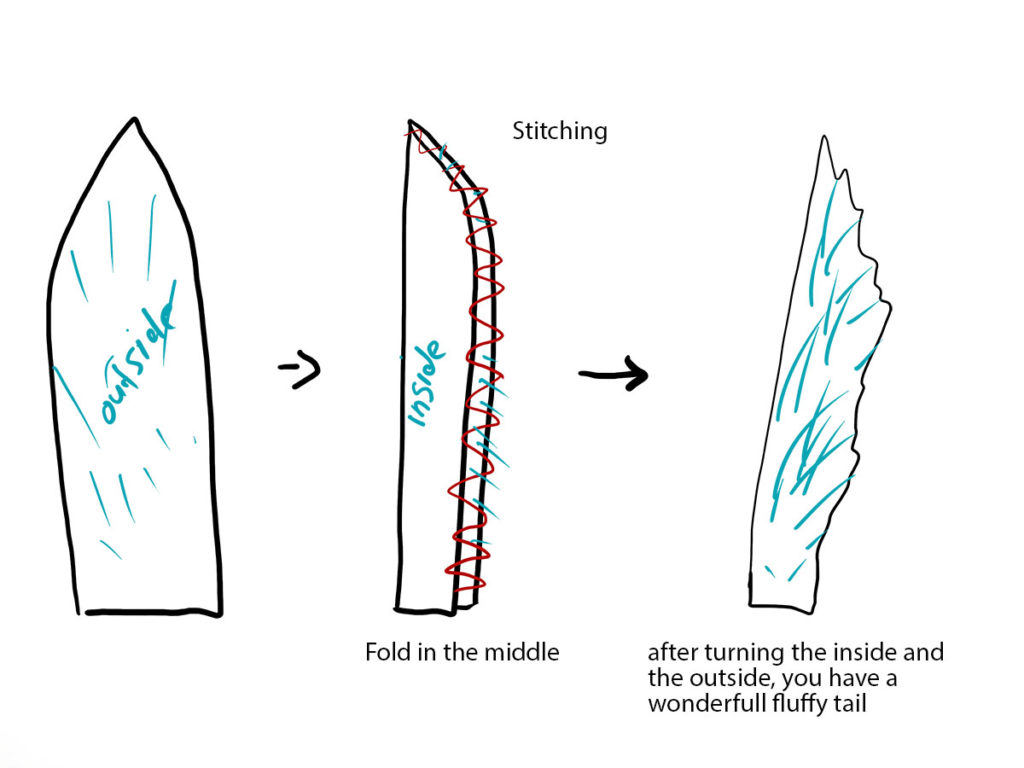
Now the tail Shape
You can use my Pattern but you can also make your own. Feel free <3
But before cutting, take a pencil and draw all the tails first on the backside of the fabric. If everything fits you can cut out the tails.
Tip: Cutting the backside with a cutting knife is the best way to have less fur leftovers trouble arroung you. ;D

Now you can glue or sew the fabric to tail tubes. I sewed the fabrik. I'm not a fan about doing Cosplay with hot glue because I think its not a good quality but its totally fine and ok to glueing the fabric if you want 🙂
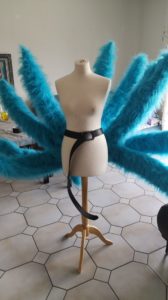
Take a belt, stuck the furtubes over the rods and its ready. You can fix the tails with safety pins or sewing/glueing some ribbon but its optional and not necessary. If you have a shooting and had to shape the tails all the time then its a good idea.
Add more volume to your tails!
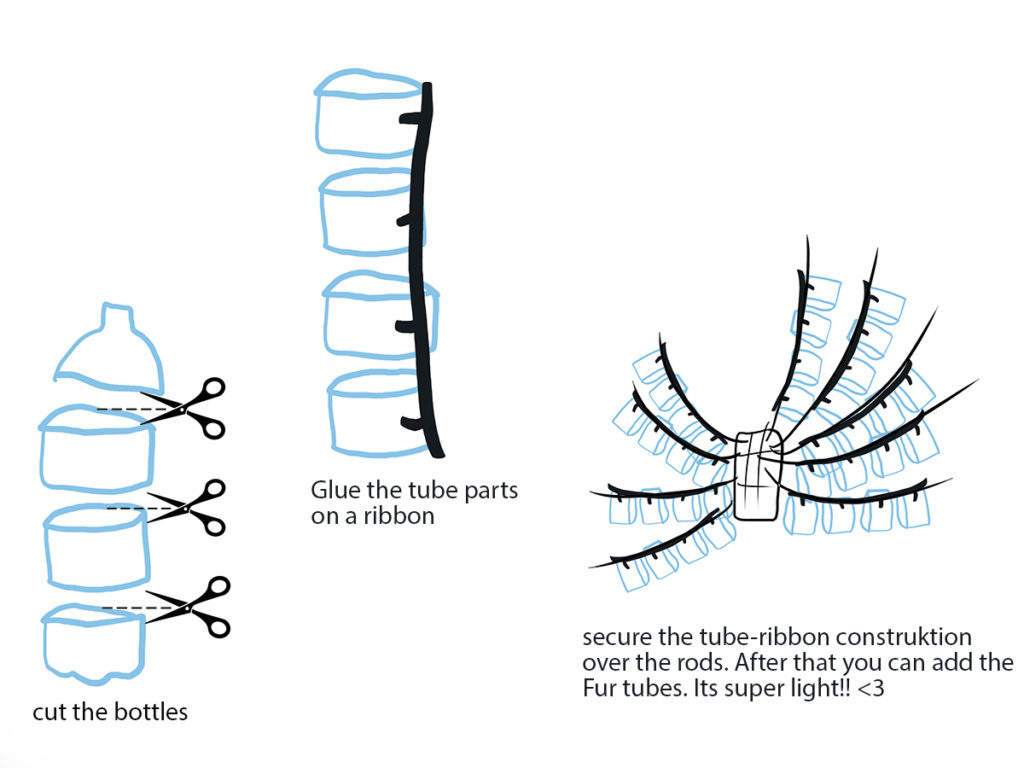
Ok no problem at all. Take your tubes or make bigger ones. To add light weight volume, cut the bottom and the end of the bottles and cut it 3 times. Now you have 3 tubes right? Glue a ribbon on the side of the bootle tubes to connect then again but with distance. you can make as much as you want. You need a bit distance between the tubes because without, you couldn bend the tails anymore. Makes sense right?
Now glue the on end oof ribbon on the end of the rod, pull the tubes over the rod and secure the other end of the ribbon on the beginning of the rod. Pull your Tails over and have fun with big fluffy tail!
Ahri tail tutorial: Easy peasy
You see, you can do big things with less work and less money.
I hope I could help you with your Cosplay. If you use my tutorial I would love to see your work! Link me at your post so I can see what you create <3
Please dont take my tutorial and publish it as yours. Because of this, I didn't do tutorials a long time. It took all my fun and energie. ^.^

Hey there! None of the pictures on this link are loading for me, would you happen to be able to reupload them or send me a mirror? (on this post: https://eden-craft.com/ahri-tail-tutorial-2/)
Thanks so much and have a good day!
Hi dear,
sadly it took a few month and I had to wait for the support of this theme. But now its fixed